How to Scan Old Photos with Your Phone (Google PhotoScan) — Then Colorize Them
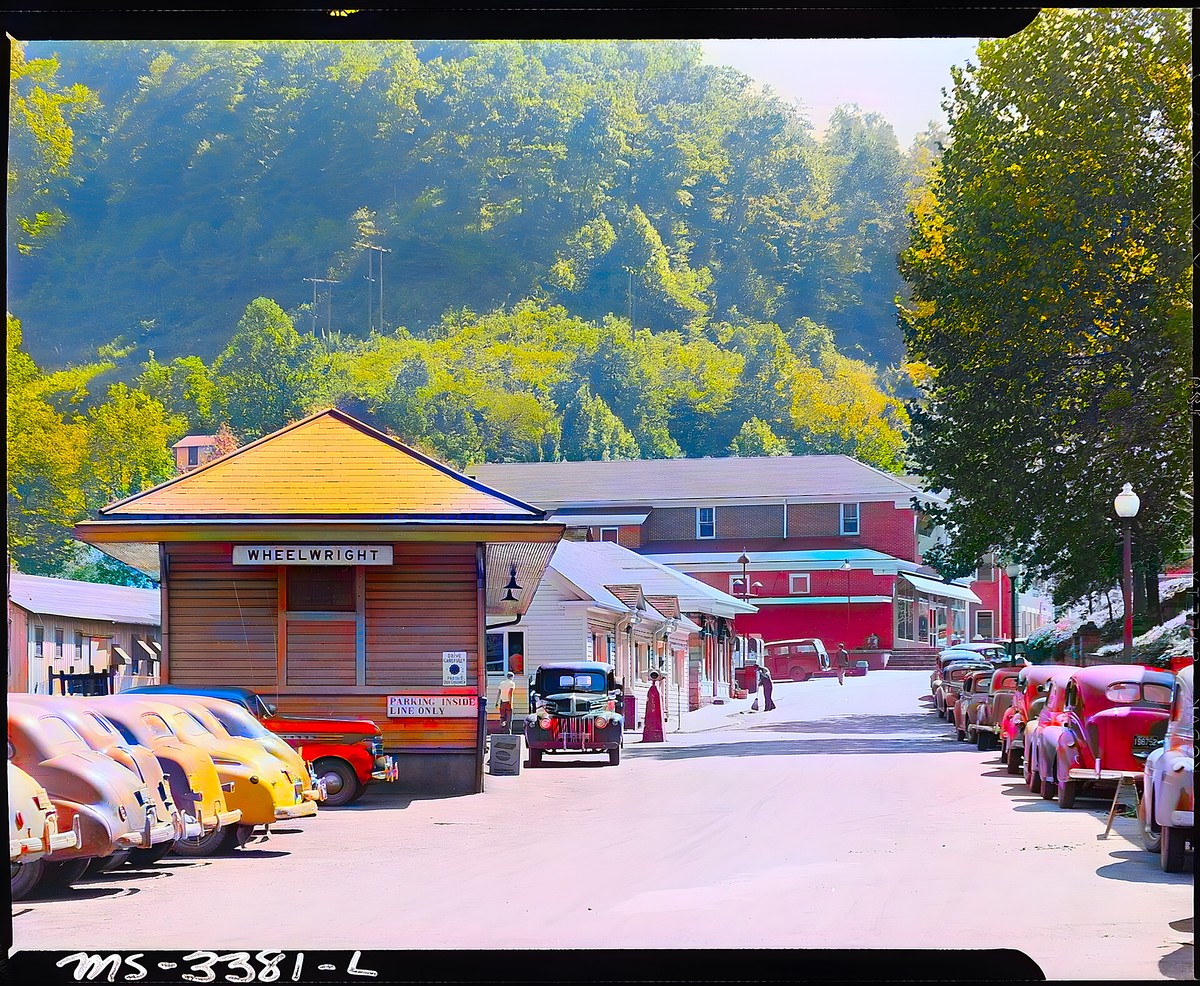
Colorization and restoration can only work with the detail you give them. A sharp, evenly-lit scan produces dramatically better color and cleaner repairs than a dim, blurry snapshot. Ten minutes spent scanning well is the single biggest thing you can do for the result.
Option 1 — Google PhotoScan (free, on your phone)
Google PhotoScan (iOS and Android) is the easiest way to get a glare-free scan with no scanner:
- Install Google PhotoScan and open it.
- Lay the photo on a flat, evenly-lit surface — near a window, out of direct sun.
- Frame the whole photo and tap the shutter.
- Slowly move your phone so the white dot hovers over each of the four circles in turn. PhotoScan takes several shots and merges them to erase glare.
- Check the auto-detected edges, then save. It exports a clean, de-glared image to your gallery.
Tips: wipe dust off the print first, keep the phone parallel to the photo, and turn off overhead lights that reflect.
Option 2 — A flatbed scanner (best quality)
If you have a flatbed scanner or an all-in-one printer:
- Scan at 600 DPI for standard prints (1200 DPI for small or very detailed ones).
- Save as TIFF or PNG if you can — they're lossless; a high-quality JPEG is fine too.
- Clean the glass and the photo, and scan with the lid closed for even light.
- Scan several small photos in one pass, then crop them apart afterwards.
Option 3 — A phone camera (in a pinch)
No scanner and no PhotoScan? A normal phone photo works if you use plenty of soft, even light, hold the phone directly above and parallel to the print, fill the frame, and tap to focus. Avoid the flash — it reflects straight back off the print.
Then colorize and restore
The Recolor the Past app can do this whole preparation workflow directly: scan a print with live edge detection or glare-free capture, correct the four corners manually, rotate, crop and adjust exposure, contrast, saturation and warmth. The prepared image stays in a named Studio folder, where you can select one photo or a batch before creating free restoration previews.
Upload your scan to Recolor the Past and pick your options:
- Black-and-white → turn on Colorize (and Repair damage if it's scratched).
- Faded color → turn on Improve faded color.
- Snapped at an angle → turn on Straighten & crop first.
The first previews are free, and your photos stay private — they're never used to train AI.
Scanning also preserves the original
A good scan is also the best insurance for a fragile print: once the memory is a clean digital file, it's safe even if the paper isn't. Keep the originals somewhere cool and dry, and back up the scans in two places.
More from the blog
From Print to Pixels to Colour: How Photo Digitization Changed—and How Recolor the Past Works Today
Photo digitization once required specialist copy cameras, flatbed scanners and a desktop workflow. See how today’s options compare—and how Recolor the Past combines free scanning, perspective correction and optional AI colourization.
Recolor the Past App: From a Printed Photo to a Restored Family Album
A complete guide to scanning or importing photos, preparing them in Studio, creating free previews, choosing restoration options and keeping full-resolution results organized.
Prepare, Then Restore: Every Photo Option Explained
Learn which corrections you make locally in Studio and which optional restoration processes create the final result.