
From Print to Pixels to Colour: How Photo Digitization Changed—and How Recolor the Past Works Today
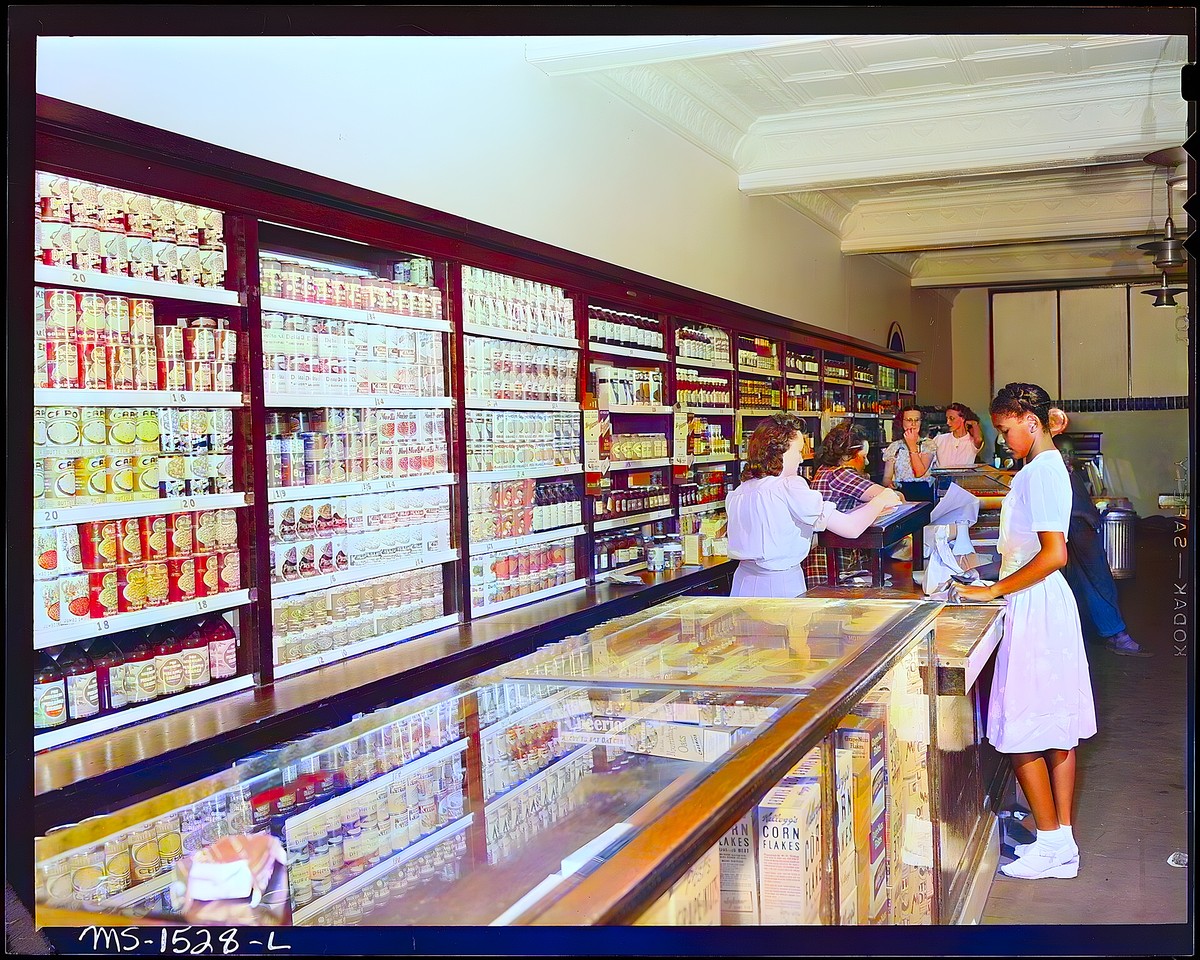
For most of photography’s history, preserving a picture meant preserving a physical object. A print could be copied in a darkroom, photographed again on a copy stand or transferred to microfilm, but every new generation introduced cost, delay and usually some loss of detail.
Digital imaging changed that. Once a photograph becomes a well-made digital file, it can be duplicated without generational loss, backed up in several places, shared with relatives and used as the source for restoration or colourization. The difficult part is no longer simply making a digital file. It is making a faithful one, keeping it organized and knowing which later changes are documentary corrections and which are creative interpretations.
This article follows that evolution, compares the practical options available today, and then looks inside the Recolor the Past workflow—from a printed photograph in front of the camera to a perspective-corrected scan and an AI-colourized result.
Before home scanners: copy photographs, negatives and microfilm
Before affordable digital scanners, reproducing a photograph was an optical process. An archive or photo lab could place the original under controlled lighting, photograph it with a copy camera and create a new negative or transparency. That intermediate film could then produce access prints while the original remained in storage. Libraries also relied heavily on microfilm for compact, standardized access copies of paper collections.
This was skilled work. The operator had to keep the camera and photograph parallel, control reflections, set exposure, select film and process the new negative. The result could be excellent, but it required equipment, chemicals, space and a chain of physical reproductions.
Early institutional digitization often began from those copy negatives rather than from the original object. The Library of Congress, for example, digitized much of its daguerreotype collection in 1995–96 from black-and-white copy negatives and colour transparencies. Its larger access images averaged about 1,400 × 1,075 pixels—useful online at the time, but modest beside a current phone photograph.
That history explains an important preservation principle: a convenient access image and a preservation master are not necessarily the same file. Archives often capture a high-quality, minimally altered master, then make smaller JPEG derivatives for browsing. Families should follow the same logic whenever possible: keep the clean original scan, and create restored or colourized versions as separate files.
The desktop-scanner era
Flatbed scanners brought digitization into homes and offices during the 1990s and 2000s. A print was placed face-down on glass while a moving sensor recorded it line by line under controlled illumination. Compared with a handheld camera, the geometry was predictable, the lighting was even and the scan could be repeated with consistent settings.
But the workflow was fragmented. Scanning software produced a file; another program cropped it; another adjusted contrast or removed dust; folders had to be named manually; backups were the user’s responsibility. Colourization, when attempted at all, was painstaking hand work in an image editor: selections, masks and translucent colour layers painted one object at a time.
Flatbeds remain a strong option. For a loose print in good condition, a clean scan at 600 ppi is usually more than enough for restoration and future printing. Small originals or negatives may justify higher resolution, but a larger number alone does not guarantee a better scan. Focus, tonal range, colour accuracy, noise, compression and careful handling matter too. The current FADGI technical guidance used by US cultural-heritage institutions treats resolution as one part of a complete imaging system, not as a single magic setting.
What can you use today?
There is no universally best capture method. Choose according to the original material, the number of photographs, the quality you need and the time you can spend.
| Method | Best for | Strengths | Limitations |
|---|---|---|---|
| Flatbed scanner | Loose prints and delicate photographs | Even light, stable geometry, repeatable quality, lossless output | Slower; glass must be clean; awkward for bound albums |
| Dedicated film scanner | Negatives and slides | Captures the small original at high optical resolution; often supports infrared dust detection | Specialized and comparatively expensive; not for ordinary prints |
| Sheet-fed photo scanner | Large collections of robust loose prints | Very fast; some models scan and name batches automatically | Do not feed brittle, curled, torn or uniquely valuable prints through rollers |
| Camera on a copy stand | Albums, oversized material and professional projects | Fast, flexible and non-contact when properly rigged | Requires a rigid mount, two balanced lights, careful alignment and colour management |
| Ordinary phone camera | A few prints when convenience matters most | Always available and potentially high resolution | Perspective distortion, shadows, uneven focus and reflections are easy to introduce |
| Google PhotoScan | Free glare-reduced phone capture | Combines views from several angles to reduce specular glare | Scanning, organization and restoration remain separate workflows |
| Generic document scanner | Receipts and pages | Excellent automatic edge detection; often already installed | Frequently optimizes for text or PDF output rather than photographic tone and colour |
| Professional digitization service | Fragile originals, film, glass plates or a valuable archive | Appropriate handling, calibrated equipment and expert quality control | Costs more and requires handing over the originals |
The Library of Congress preservation guidance specifically warns against form-feed equipment for fragile, high-value or archival photographs. If a print is cracked, flaking, stuck to an album page or separating from its mount, preservation comes before speed.
The phone solved capture—but created new imaging problems
A modern phone has a capable camera, fast image processors and enough storage for an entire family archive. It also has a fundamental disadvantage: it is handheld above a reflective object.
Four common errors follow:
- Keystone distortion: the phone and print are not perfectly parallel, so a rectangle becomes a trapezoid.
- Glare: glossy paper reflects a lamp, window or the phone itself.
- Unstable borders: a pale or damaged print may disappear into the table beneath it.
- Uneven detail: motion, missed focus or aggressive camera processing can soften faces and texture.
Good scanning software therefore has to do more than trigger the shutter. It must understand the geometry of the print, keep the border stable while the camera moves, provide a manual escape hatch when automatic detection is uncertain and preserve a high-resolution source for later work.
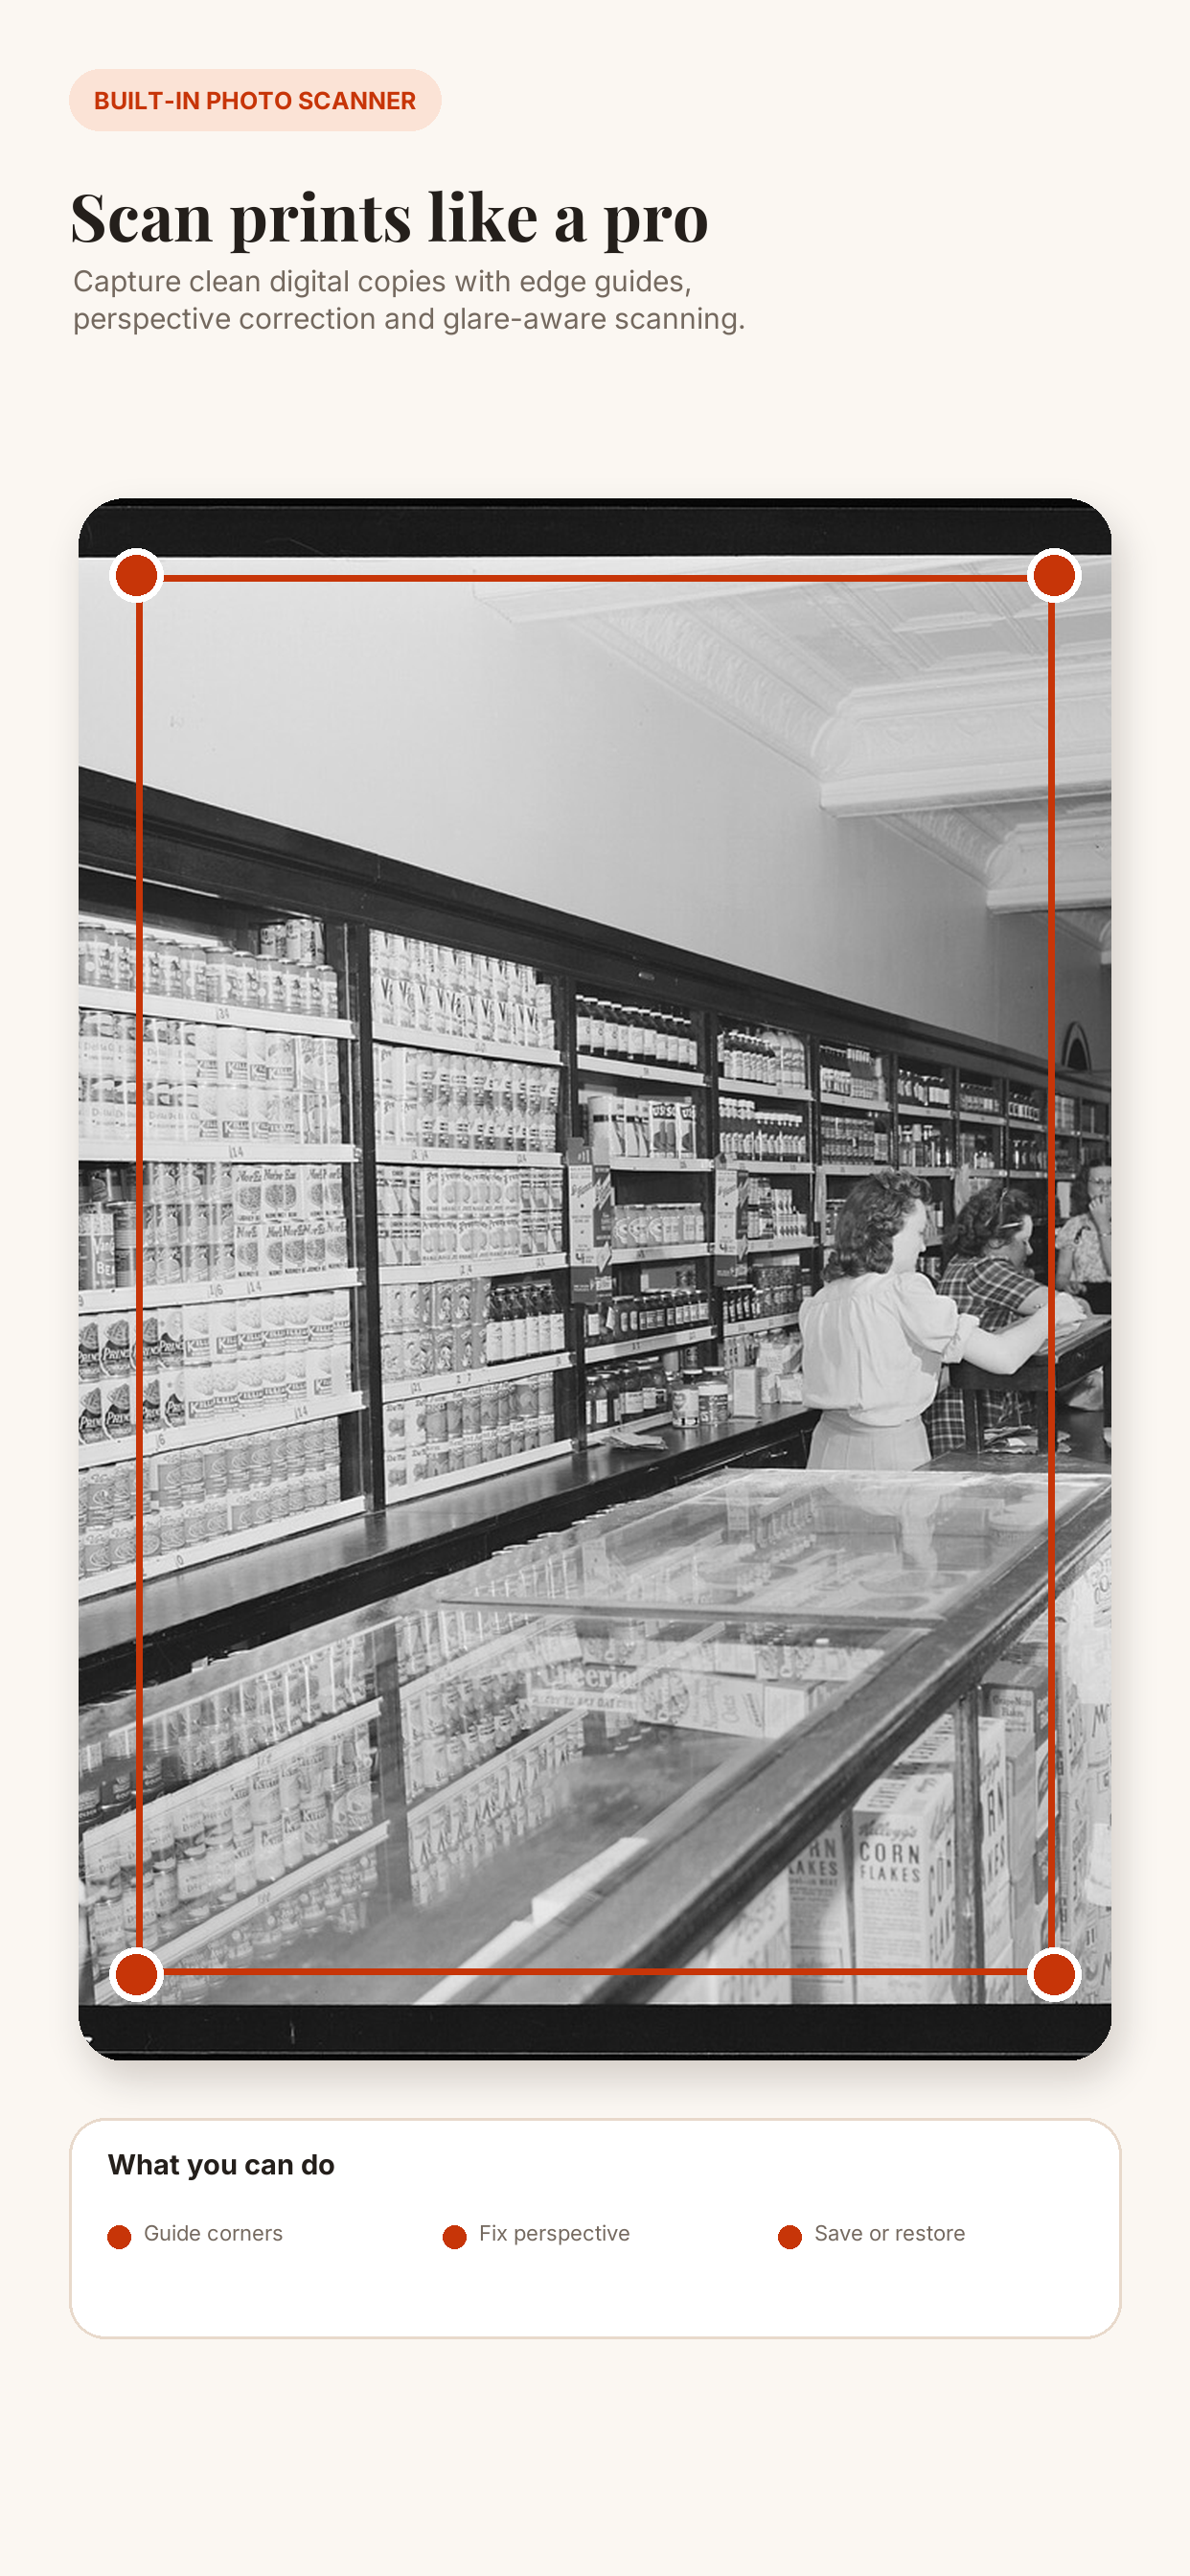
Figure 1. Recolor the Past detects the print boundary and lets the user correct all four corners before saving. Scanning and these preparation tools are free.
How Recolor the Past scans a printed photograph
Recolor the Past puts capture, preparation and optional restoration in one workflow. The scanner is not a screenshot-shaped wrapper around the normal camera. It runs a native detection and image-processing pipeline designed for photographs.
1. Track the print, not the background
While the camera preview is open, the app looks for a four-sided photographic boundary. On iOS it uses Apple Vision’s document segmentation and rectangle tracking; on Android it uses OpenCV-based edge, contour and line analysis. The exact implementation differs by platform, but the output has the same meaning: four ordered corners—top-left, top-right, bottom-right and bottom-left.
The detected quadrilateral is smoothed across successive frames. That matters because a raw detector can jump between the outer print, an internal picture frame and a strong rectangular object inside the image. Temporal tracking makes the guide feel stable while still allowing it to reacquire the photograph when the scene genuinely changes.
If the border is too faint, damaged or partly covered, Manual corners keeps the workflow usable. Automatic detection should save time, not prevent a scan.
2. Capture a full-resolution still
The live preview is optimized for speed, so it is not the final scan. When the shutter is pressed, Recolor the Past captures the camera’s high-resolution still and maps the four preview corners into that image’s coordinate system. The crop is therefore calculated against the detailed photograph, not against a low-resolution preview frame.
3. Correct the perspective
The four corners define a projective transform, often called a homography. Conceptually, the transform asks: If this trapezoid were viewed straight on, where would every pixel land? The app estimates the output width and height from the opposing edges, warps the captured image into a rectangle and crops away the table or album background.
This is a geometric correction. It does not invent facial detail or colour. It simply reconstructs a front-facing view of the photographed print.
4. Reduce glare with multiple views where available
On supported iOS devices, Glare-free mode adds a multi-angle capture pass. The app first records a base image, then guides the phone through additional viewpoints. Because specular glare moves when the viewing angle changes, a blown-out patch in one frame may contain usable detail in another.
The frames are registered to the same base geometry, poor alignments are rejected, and usable information is combined into one result. If the extra frames cannot be aligned safely, the app falls back to the base capture rather than risking damage to the scan. Quick and manual modes remain available, and scanner capabilities can differ by platform and device.
Google described the same underlying optical insight when it introduced PhotoScan: no single view has to be glare-free if multiple views can be aligned and combined. Recolor the Past brings that concept into a workflow that continues directly into organization and restoration.
5. Keep preparation separate from AI restoration
After capture, you can adjust the four corners again, rotate the image and correct exposure, contrast, saturation and warmth. These operations prepare the source. They are deterministic edits under your control and are performed before AI processing.
Scans can be placed into named albums and saved to Apple Photos or the Android gallery. Scanning, corner correction, rotation, tonal adjustments, organization and saving prepared scans are free. You do not have to colourize a photograph to use Recolor the Past as a scanner.
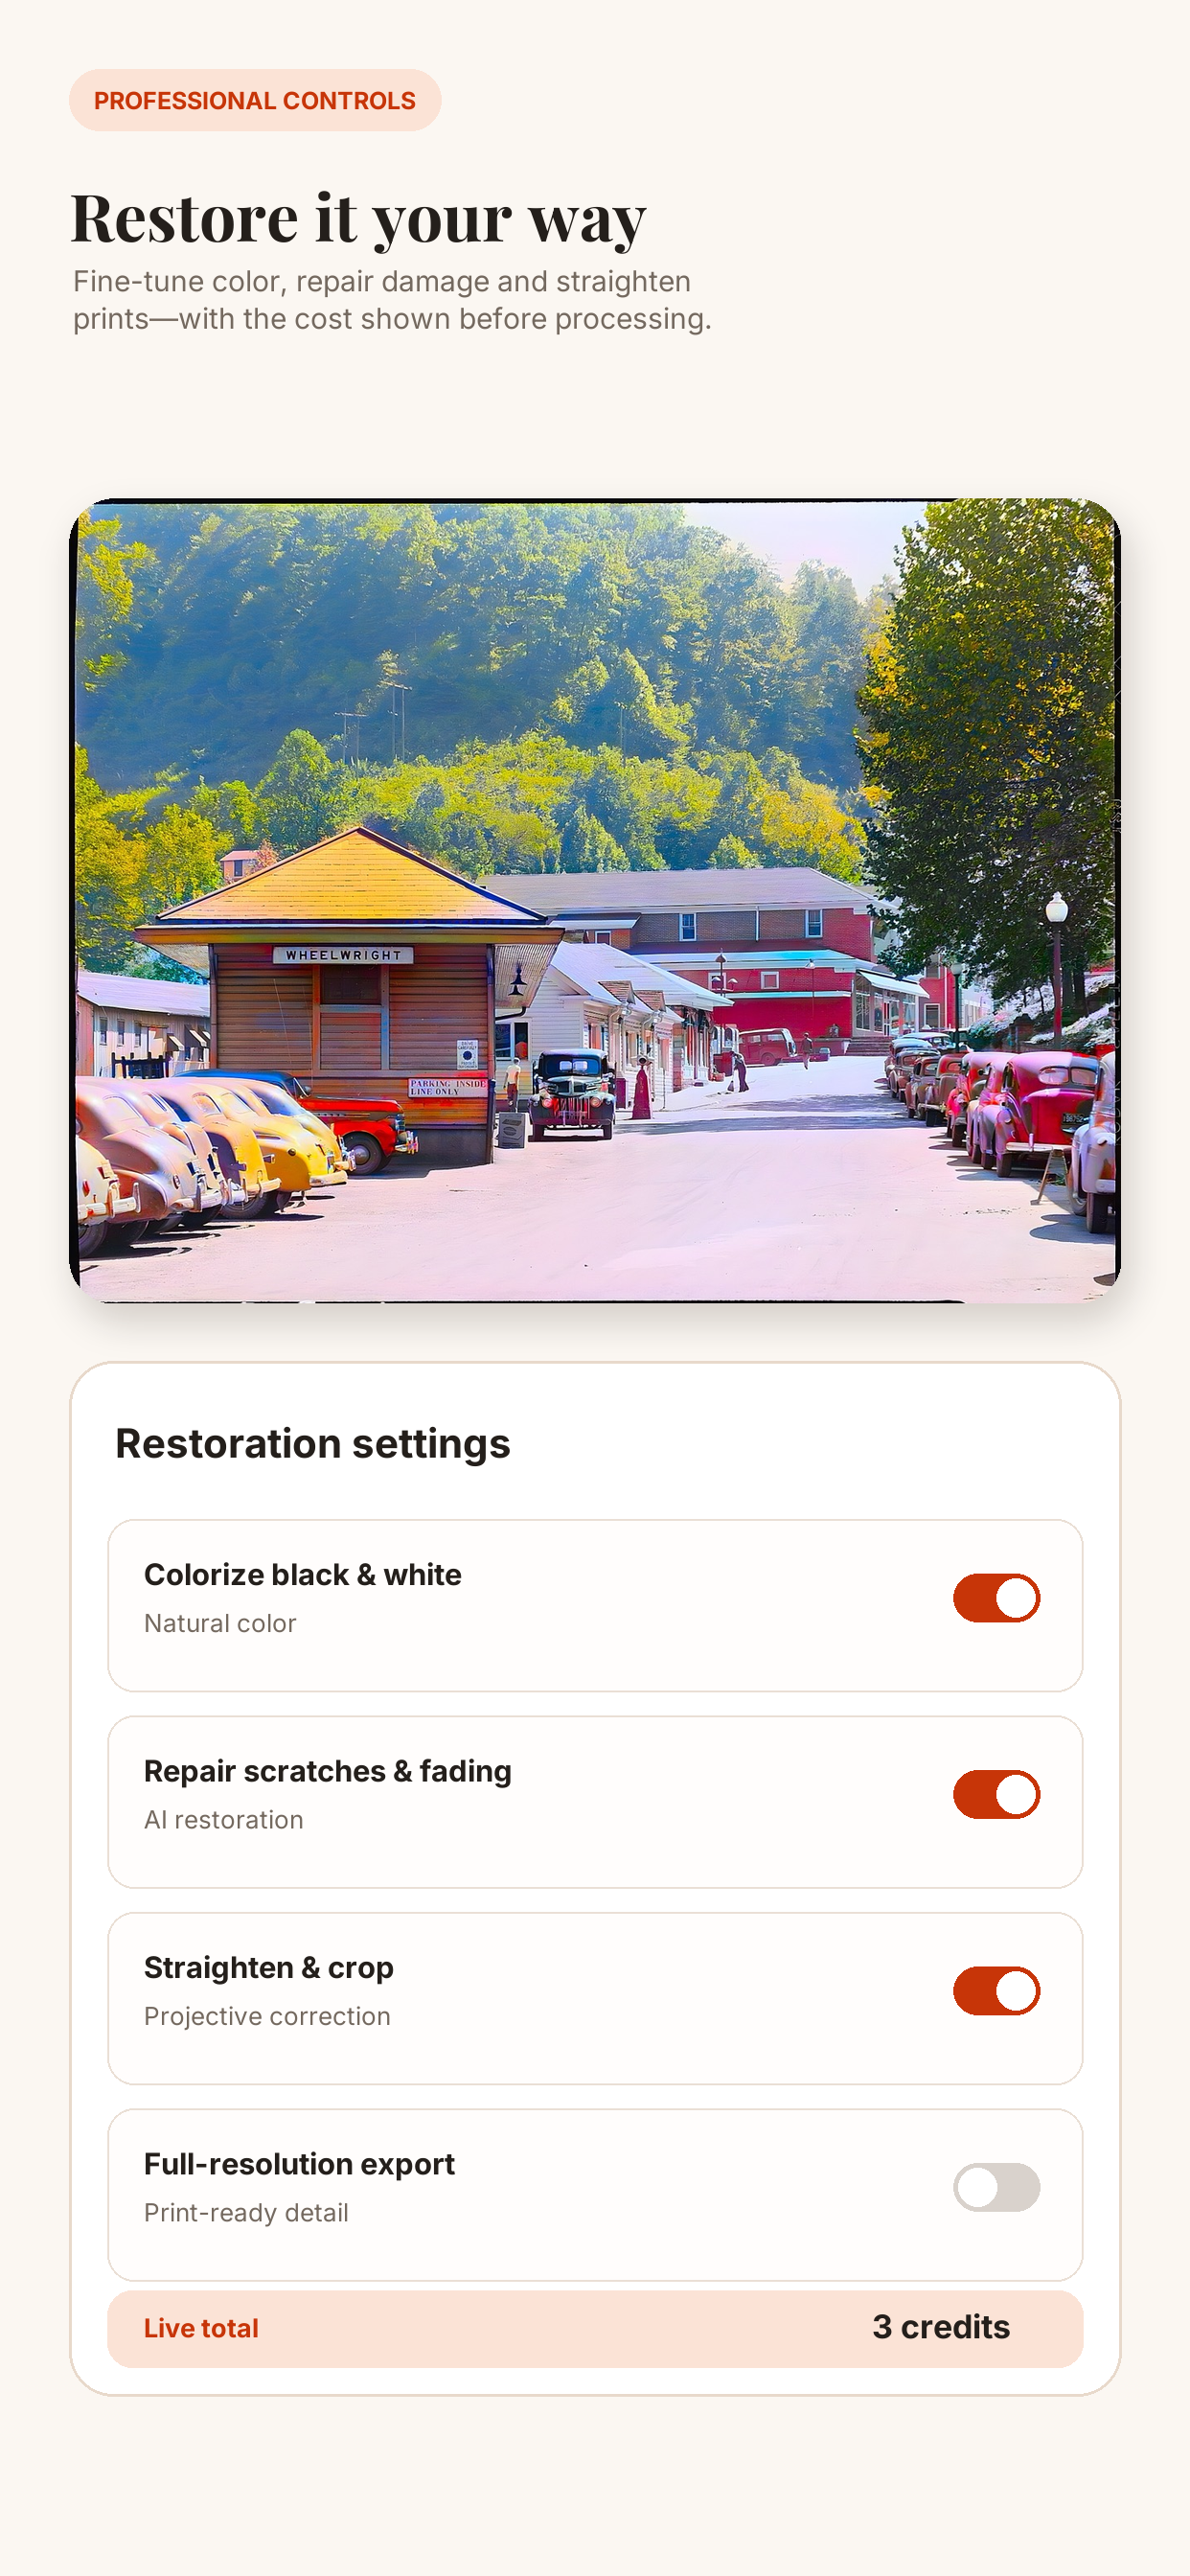
Figure 2. Colourization is an optional step after the scan has been straightened and prepared. The app shows the full-resolution credit cost before processing.
From luminance to plausible colour
A black-and-white photograph records brightness, texture and structure, but not the original hue of a dress, car or wall. Colourization cannot recover colour information that was never captured. It predicts a plausible interpretation.
At a high level, a colourization model analyzes objects, materials and context across the image. Skin, foliage, sky, wood, fabric and architecture provide statistical clues. The model estimates colour components while preserving the source luminance structure that carries much of the photograph’s recognizable detail.
That last point is why scanning comes first. A sharp scan gives the model better edges, faces and material cues. A perspective-corrected crop prevents the surrounding table from becoming part of the scene. Neutral exposure preserves highlight and shadow detail. Colourization may be sophisticated, but it cannot recover information destroyed by blur, clipped glare or a tiny compressed input.
In Recolor the Past, Colorize black & white is separate from Improve faded colour. A monochrome source needs new plausible colour; an already-colour photograph needs its surviving palette rebalanced. Other optional passes can address scratches, soft faces, mild blur, JPEG blocks or printed halftone dots. Selecting only the operations the photograph needs produces a more restrained result.
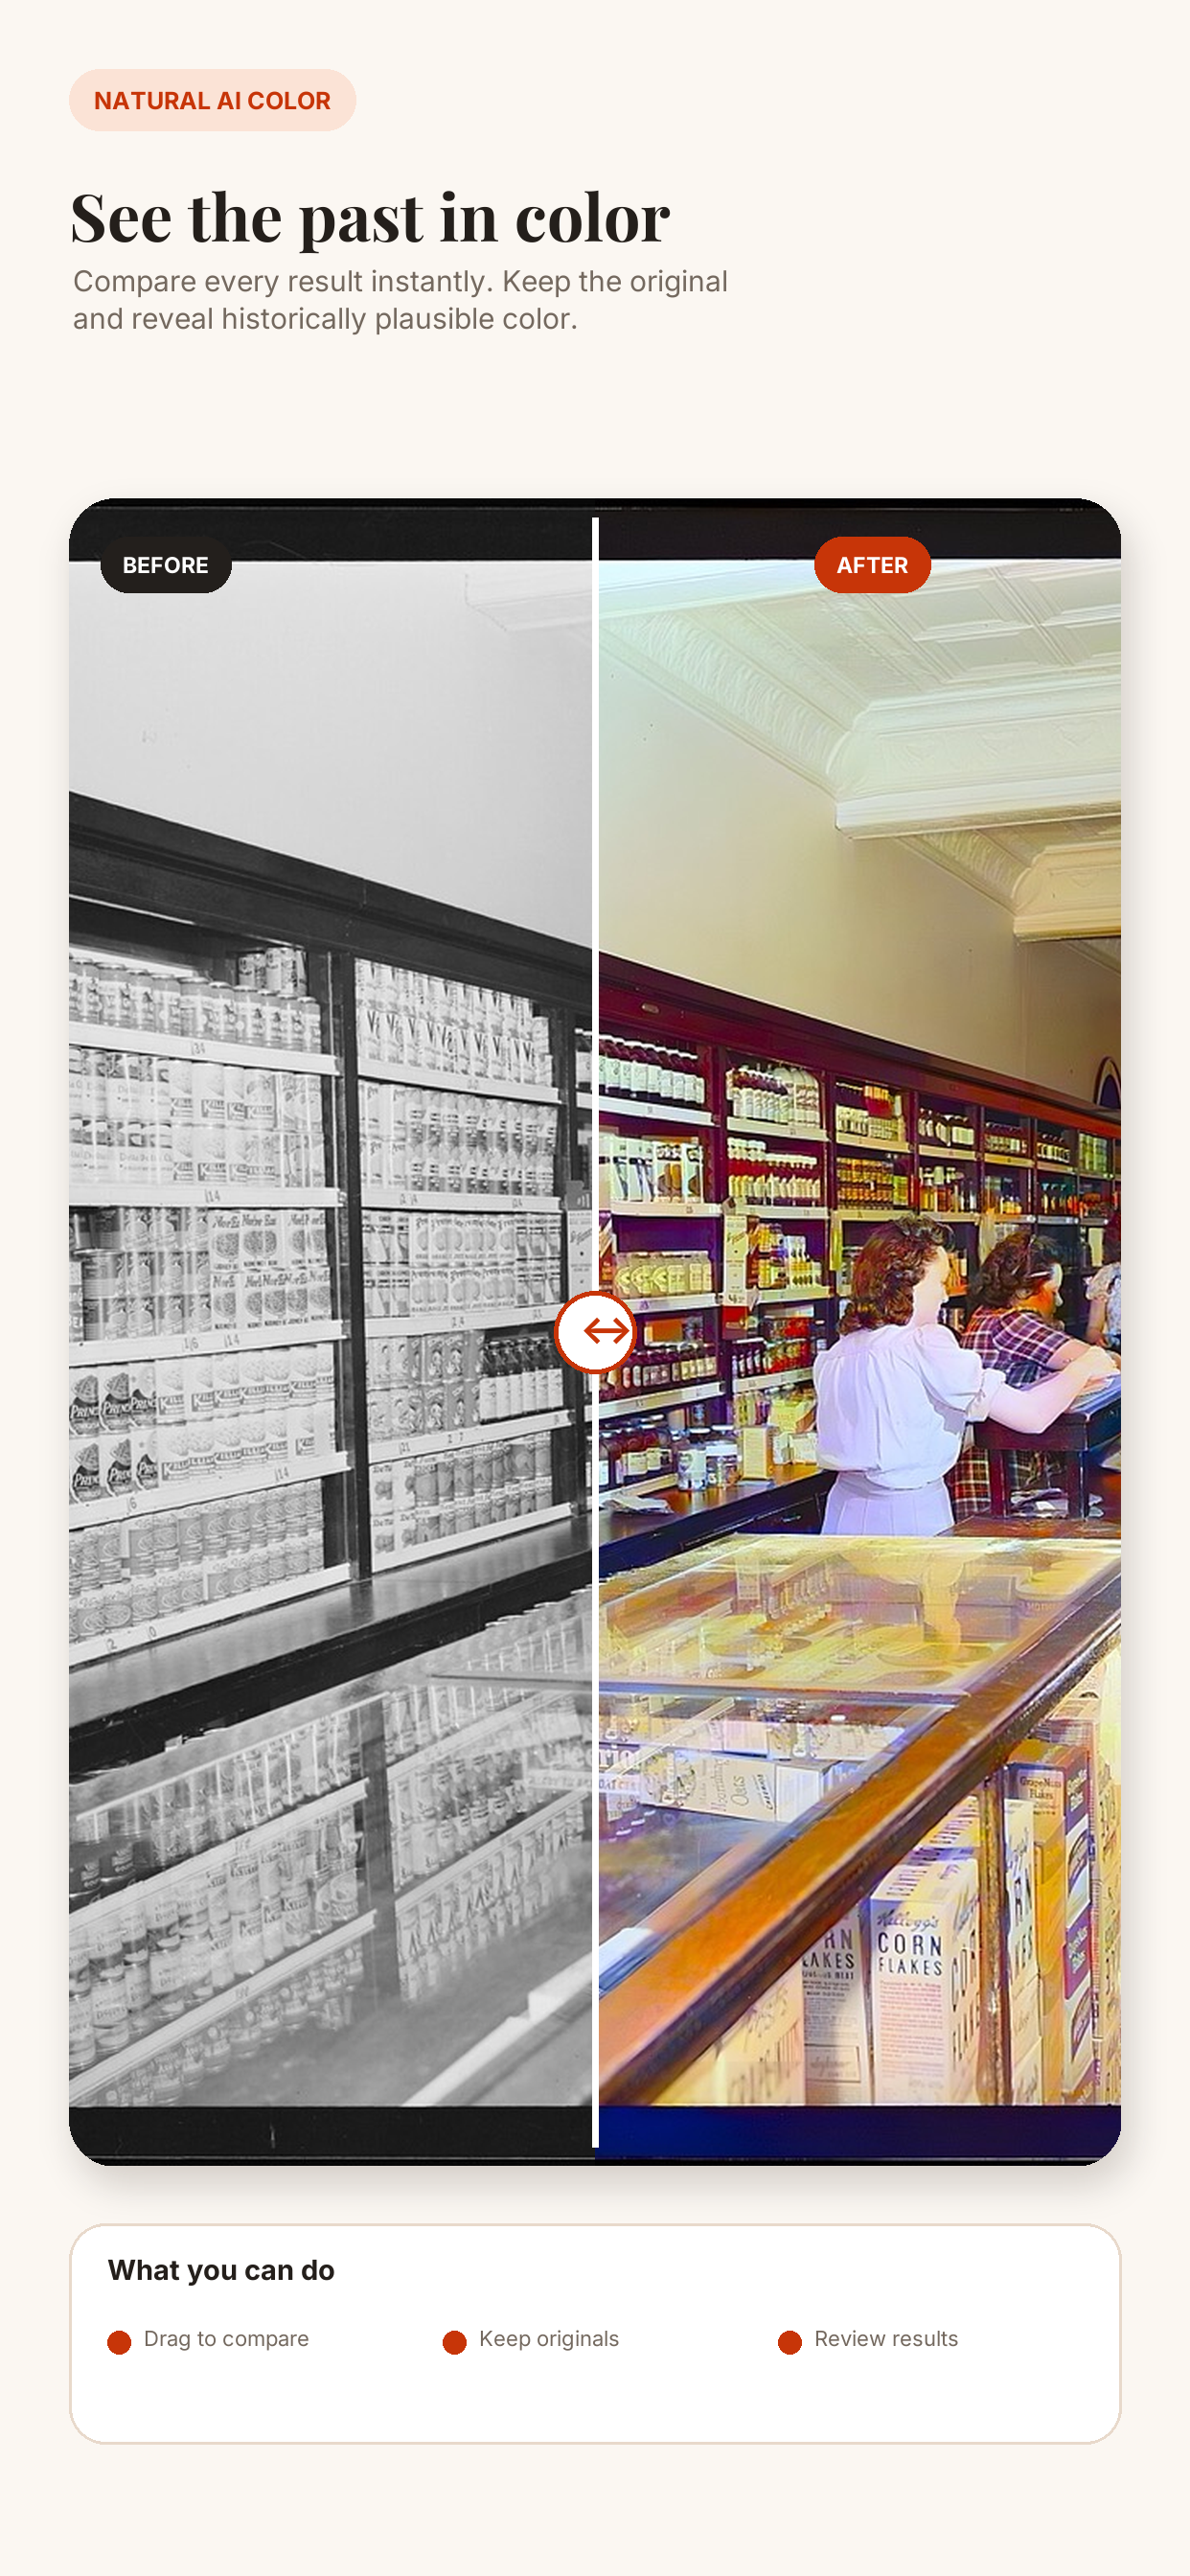
Figure 3. The comparison view keeps the prepared original visible beside the result. AI colour is a plausible reconstruction, not documentary evidence of the exact historical colours.
What is free, exactly?
Recolor the Past deliberately separates preservation from paid AI output:
- Built-in scanning is free.
- Manual corner correction, rotation and tonal preparation are free.
- Organizing scans into albums and saving the prepared scans is free.
- Watermarked, reduced-resolution restoration previews are free within the available preview allowance.
- Credits are charged when you choose to create a full-resolution AI result; the app shows the cost first.
- A new account currently includes its first full-resolution result free.
This means you can digitize a box of prints, straighten them, organize them and keep the clean scans without buying colourization. When a photograph is worth restoring, you can inspect a preview before committing to the full-resolution result.
A practical capture checklist
Whichever method you choose, the fundamentals remain the same:
- Handle the original carefully; never force a brittle print flat.
- Remove loose dust with a clean, soft brush—do not apply liquid cleaner to the photograph.
- Use soft, even light and avoid flash for a single phone capture.
- Keep the camera as parallel to the print as possible and fill the frame.
- Check the four corners, focus and glare before moving to the next photograph.
- Keep the untouched scan as the preservation source.
- Save restored and colourized results as separate derivatives.
- Keep at least two backups in different places and migrate them to current storage periodically.
The most important improvement in modern photo digitization is not AI by itself. It is the ability to make the whole chain—capture, correction, organization, comparison and optional restoration—understandable enough that families actually finish the work.
Your photographs may have waited in a box for eighty years. Scanning them should not require a darkroom, a workstation full of disconnected software or a commitment to pay before you know whether the result is worthwhile. Start with a faithful scan. Keep it. Then, if you choose, add colour without losing sight of the original.
Sources and further reading
- Library of Congress: Digitizing the Daguerreotype Collection
- Library of Congress: Preservation Guidelines for Digitizing Library Materials
- Library of Congress: Reformatting and digitization FAQ
- FADGI: Technical Guidelines for Digitizing Cultural Heritage Materials, third edition
- Google Research: PhotoScan—Taking Glare-Free Pictures of Pictures
- Epson: FastFoto photo-scanning system
More from the blog
Recolor the Past App: From a Printed Photo to a Restored Family Album
A complete guide to scanning or importing photos, preparing them in Studio, creating free previews, choosing restoration options and keeping full-resolution results organized.
Prepare, Then Restore: Every Photo Option Explained
Learn which corrections you make locally in Studio and which optional restoration processes create the final result.
How to Scan Old Photos with Your Phone (Google PhotoScan) — Then Colorize Them
A step-by-step guide to capturing sharp, glare-free scans of old prints with Google PhotoScan or a flatbed, so colorization and restoration come out their best.