How to Restore Damaged, Torn and Faded Old Photos
The most common kinds of damage
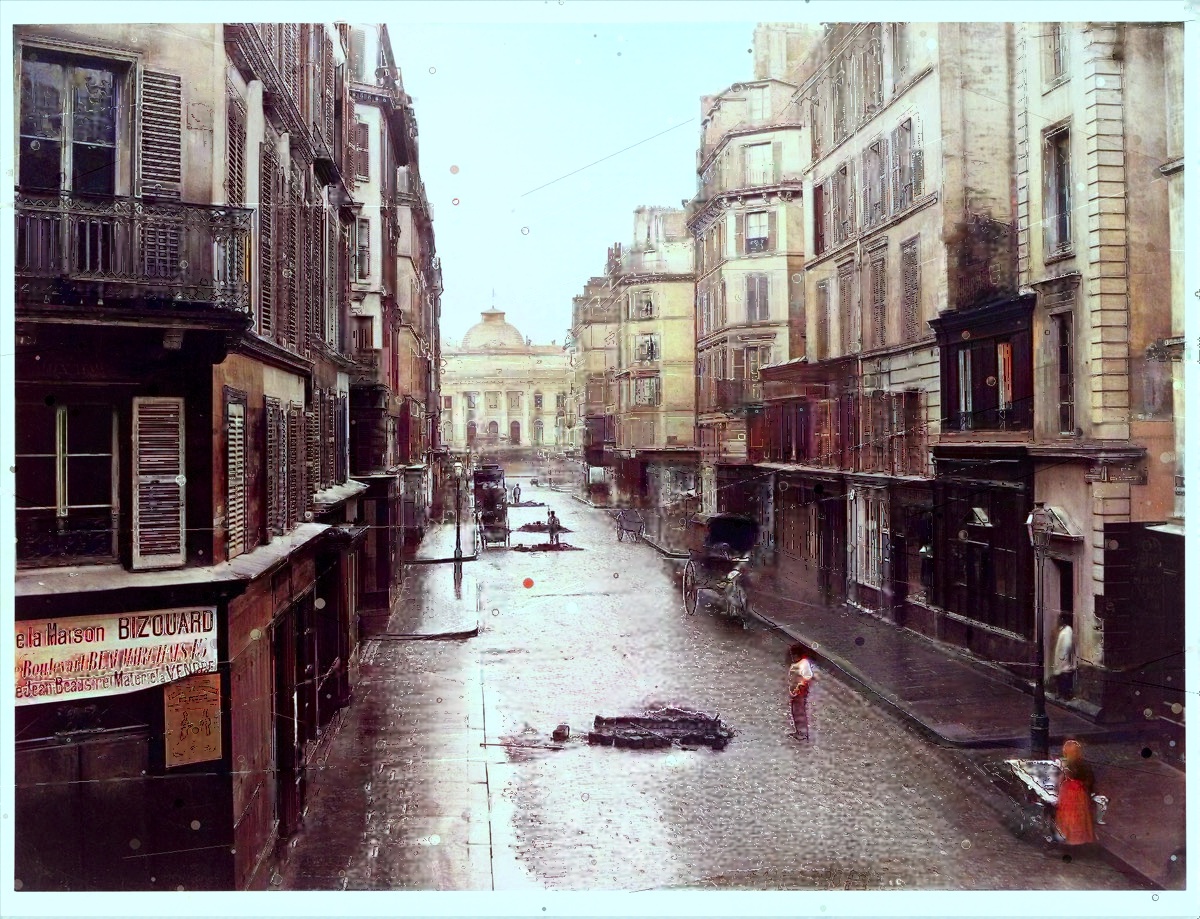
Old prints suffer in predictable ways: fine scratches and dust from handling, deep creases where a photo was folded, silvering or yellowing as the chemistry ages, and blotches from damp storage. Each needs slightly different treatment.
Repairing damage
Restoration works in layers. First the obvious defects — dust, hairline scratches, small tears — are detected and filled using the surrounding image, so the repair blends in seamlessly. Faded contrast is rebuilt so the picture has depth again. Finally, gentle sharpening brings back detail that decades of copying and fading had softened.
The goal throughout is restraint: a good restoration should look like the photograph on the day it was taken, not like a heavily edited image.
Faces get special care
The part of any photo people care about most is the faces. Restoration pays extra attention here, recovering natural detail in eyes, skin and hair — while being careful never to invent features that weren't there.
What you can do to help
- Scan, don't photograph, if you can. A flatbed scan captures far more detail than a phone snapshot (see our scanning guide).
- Keep the original. Restoration works from a copy; your fragile original should stay safe.
- Don't pre-edit. Skip the filters and auto-enhance — the cleanest untouched scan gives the best starting point.
When damage is severe
Some photos have lost large areas entirely — a missing corner, a face torn away. No tool can invent what was never recorded, and honest restoration won't pretend to. But surprisingly often, a photo you'd written off as ruined comes back looking remarkably whole.
Try it on a damaged photo — the preview is free, so you can see the result before you decide.
More from the blog
From Print to Pixels to Colour: How Photo Digitization Changed—and How Recolor the Past Works Today
Photo digitization once required specialist copy cameras, flatbed scanners and a desktop workflow. See how today’s options compare—and how Recolor the Past combines free scanning, perspective correction and optional AI colourization.
Recolor the Past App: From a Printed Photo to a Restored Family Album
A complete guide to scanning or importing photos, preparing them in Studio, creating free previews, choosing restoration options and keeping full-resolution results organized.
Prepare, Then Restore: Every Photo Option Explained
Learn which corrections you make locally in Studio and which optional restoration processes create the final result.