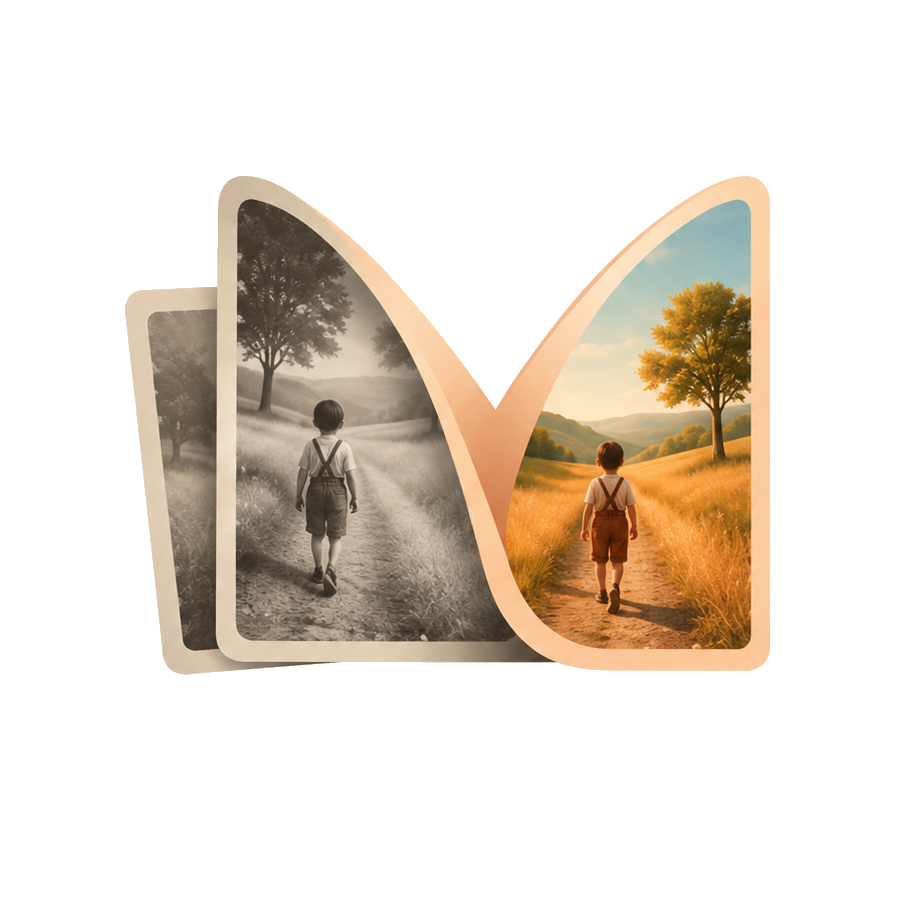
एआई फोटो कलराइजेशन कैसे काम करता है - और पुरानी तस्वीरें ब्लैक एंड व्हाइट क्यों थीं
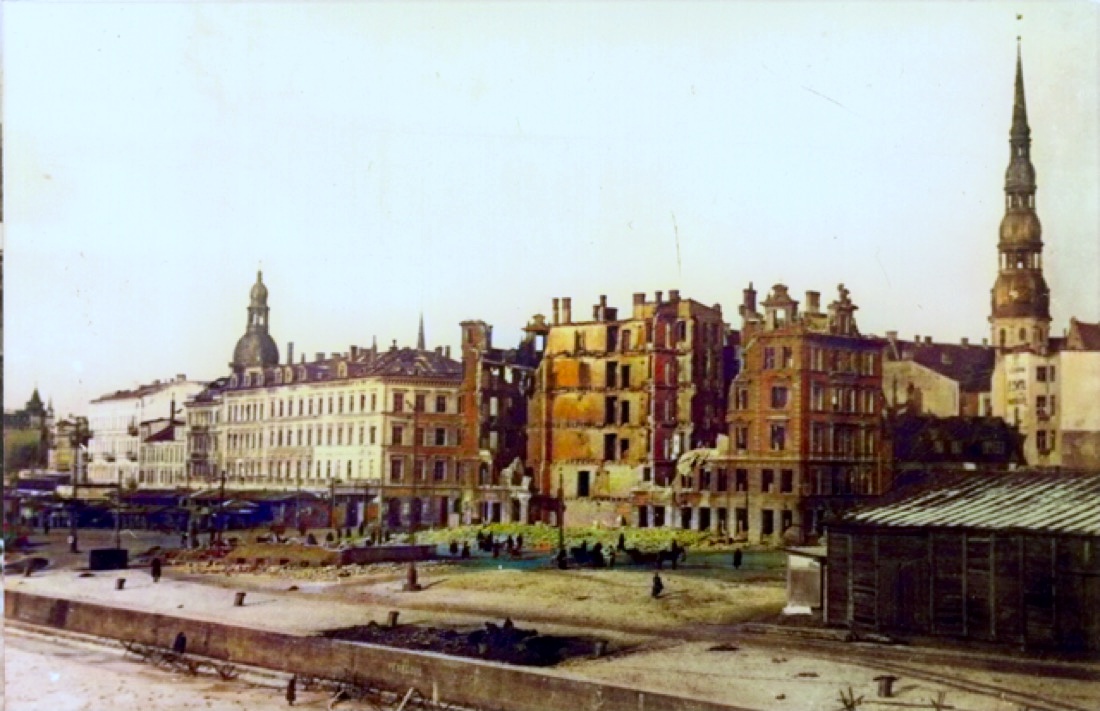
पुरानी तस्वीरें ब्लैक एंड व्हाइट क्यों होती थीं
For most of the first hundred years of photography, color film simply didn't exist — and when it did, it was expensive and slow. Cameras recorded only *brightness*, not color. यही कारण है कि आपके परदादा हमारी स्मृति में धूसर रंगों में जीवित हैं।
The information about color was never captured. So how can a photo be colored decades later? The short answer: an educated, very well-informed guess.
What the AI is actually doing
Modern colorization models have studied millions of photographs — landscapes, skin tones, clothing, buildings, skies, plants. From all those examples they learn the *probable* color of things given their shape, texture and context. Grass tends to be green, denim tends to be blue, a clear midday sky tends to be pale blue near the horizon.
जब आप एक श्वेत-श्याम फोटो अपलोड करते हैं, तो मॉडल हर क्षेत्र को देखता है और सबसे प्रशंसनीय रंग की भविष्यवाणी करता है, फिर इसे आसानी से मिश्रित करता है ताकि परिणाम पेंटिंग के बजाय एक वास्तविक तस्वीर जैसा दिखे।
It's a plausible reconstruction, not a record
This is worth saying clearly: colorization is an *interpretation*. The AI cannot know that a dress was red rather than green if nothing in the image implies it. What it can do is produce a natural, coherent, believable result — the kind of colors that photo most likely had.
For most family photos that's exactly what people want: to see a grandparent's face in lifelike tones instead of gray.
सर्वोत्तम परिणाम प्राप्त करना
- आपके पास सबसे साफ स्कैन से शुरुआत करें - अधिक विवरण का मतलब बेहतर रंग निर्णय है।
- बहुत गहरी या बहुत धुंधली छवियां मॉडल को काम करने के लिए कम अवसर देती हैं।
- यदि परिणाम थोड़ा ख़राब दिखता है, तो पुनः प्रयास करें; इनपुट में छोटे अंतर परिणाम बदल सकते हैं।
क्या आप इसे अपनी फ़ोटो पर देखना चाहते हैं? एक अपलोड करें और कुछ ही सेकंड में पूर्वावलोकन देखें - पहले कुछ निःशुल्क हैं।
संबंधित लेख
प्रिंटेड फ़ोटो से पिक्सेल और रंग तक: फ़ोटो डिजिटलीकरण का विकास और आज Recolor the Past की कार्यप्रणाली
पहले फ़ोटो को डिजिटल बनाने के लिए विशेष कॉपी कैमरे, फ्लैटबेड स्कैनर और कई डेस्कटॉप प्रोग्राम चाहिए होते थे। आज उपलब्ध विकल्पों और Recolor the Past में मुफ़्त स्कैनिंग, परिप्रेक्ष्य सुधार तथा वैकल्पिक AI रंगीकरण की पूरी प्रक्रिया को समझें।
Recolor the Past ऐप: एक मुद्रित फोटो से एक पुनर्स्थापित पारिवारिक एल्बम तक
फ़ोटो को स्कैन करने या आयात करने, उन्हें स्टूडियो में तैयार करने, मुफ़्त पूर्वावलोकन बनाने, पुनर्स्थापना विकल्प चुनने और पूर्ण-रिज़ॉल्यूशन परिणामों को व्यवस्थित रखने के लिए एक संपूर्ण मार्गदर्शिका।
तैयारी करें, फिर पुनर्स्थापित करें: प्रत्येक फोटो विकल्प समझाया गया
जानें कि आप स्टूडियो में स्थानीय रूप से कौन से सुधार करते हैं और कौन सी वैकल्पिक पुनर्स्थापना प्रक्रियाएँ अंतिम परिणाम बनाती हैं।