
अपने फ़ोन से पुरानी तस्वीरें कैसे स्कैन करें (Google PhotoScan) - फिर उन्हें रंगीन करें
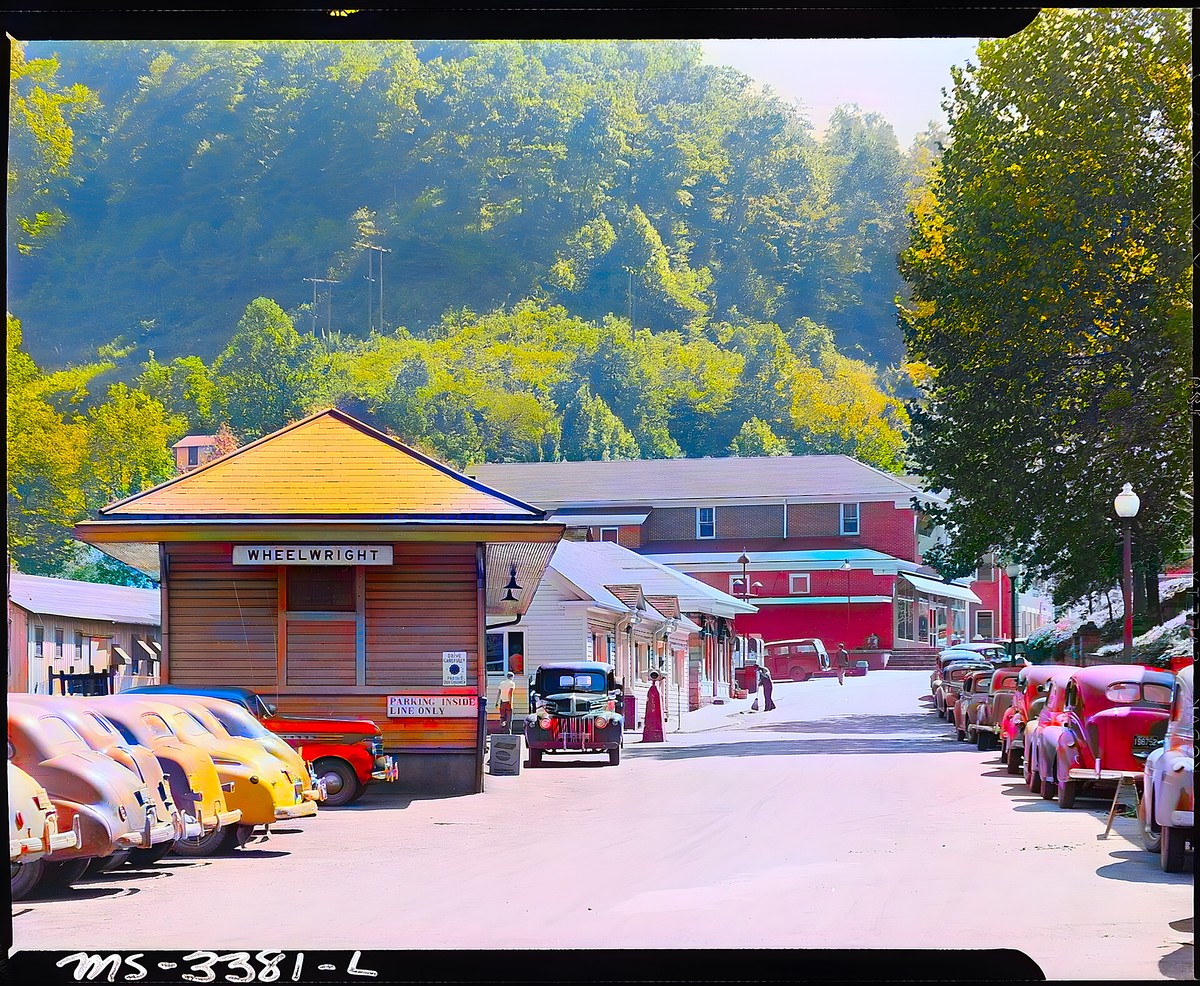
रंगीकरण और पुनर्स्थापन केवल आपके द्वारा दिए गए विवरण के साथ ही काम कर सकता है। एक तेज़, समान रूप से रोशनी वाला स्कैन एक मंद, धुंधले स्नैपशॉट की तुलना में नाटकीय रूप से बेहतर रंग और साफ़ मरम्मत उत्पन्न करता है। अच्छे से स्कैन करने में बिताए गए दस मिनट ही परिणाम के लिए सबसे बड़ी चीज़ है जो आप कर सकते हैं।
विकल्प 1 - Google PhotoScan (निःशुल्क, आपके फ़ोन पर)
Google PhotoScan (iOS और Android) बिना किसी स्कैनर के चमक-रहित स्कैन प्राप्त करने का सबसे आसान तरीका है:
- Google PhotoScan इंस्टॉल करें और इसे खोलें।
- फोटो को एक सपाट, समान रोशनी वाली सतह पर रखें - एक खिड़की के पास, सीधी धूप से दूर।
- पूरी फोटो को फ्रेम करें और शटर पर टैप करें।
- अपने फोन को धीरे-धीरे घुमाएं ताकि सफेद बिंदु बारी-बारी से चारों वृत्तों में से प्रत्येक पर मंडराए। फोटोस्कैन कई तस्वीरें लेता है और चकाचौंध मिटाने के लिए उन्हें मर्ज कर देता है।
- स्वत: पहचाने गए किनारों की जांच करें, फिर सहेजें। यह आपकी गैलरी में एक साफ़, चमक रहित छवि निर्यात करता है।
युक्तियाँ: पहले प्रिंट से धूल पोंछें, फ़ोन को फोटो के समानांतर रखें, और प्रतिबिंबित करने वाली ओवरहेड लाइटें बंद कर दें।
Option 2 — A flatbed scanner (best quality)
यदि आपके पास फ़्लैटबेड स्कैनर या ऑल-इन-वन प्रिंटर है:
- मानक प्रिंट के लिए 600 डीपीआई पर स्कैन करें (छोटे या बहुत विस्तृत प्रिंट के लिए 1200 डीपीआई)।
- यदि आप कर सकते हैं तो TIFF या PNG के रूप में सहेजें - वे हानिरहित हैं; a high-quality JPEG is fine too.
- कांच और फोटो को साफ करें, और समान रोशनी के लिए ढक्कन बंद करके स्कैन करें।
- एक बार में कई छोटी तस्वीरें स्कैन करें, फिर बाद में उन्हें काट-छांट कर अलग कर लें।
Option 3 — A phone camera (in a pinch)
No scanner and no PhotoScan? एक सामान्य फ़ोन फ़ोटो तब काम करती है जब आप बहुत अधिक नरम, समान प्रकाश का उपयोग करते हैं, फ़ोन को सीधे ऊपर और प्रिंट के समानांतर पकड़ते हैं, फ़्रेम भरते हैं, और फ़ोकस करने के लिए टैप करते हैं। फ़्लैश से बचें - यह सीधे प्रिंट को प्रतिबिंबित करता है।
Then colorize and restore
Recolor the Past ऐप इस संपूर्ण तैयारी वर्कफ़्लो को सीधे कर सकता है: लाइव एज डिटेक्शन या ग्लेयर-फ्री कैप्चर के साथ एक प्रिंट को स्कैन करें, चारों कोनों को मैन्युअल रूप से सही करें, घुमाएं, क्रॉप करें और एक्सपोज़र, कंट्रास्ट, संतृप्ति और गर्मी को समायोजित करें। तैयार छवि नामित स्टूडियो फ़ोल्डर में रहती है, जहां आप निःशुल्क पुनर्स्थापना पूर्वावलोकन बनाने से पहले एक फोटो या बैच का चयन कर सकते हैं।
अपना स्कैन Recolor the Past पर अपलोड करें और अपने विकल्प चुनें:
- श्वेत-श्याम → रंगीन करें चालू करें (और यदि खरोंच हो तो क्षति की मरम्मत करें)।
- फीका रंग → फीका रंग सुधारें चालू करें।
- एक कोण पर स्नैप किया गया → पहले सीधा और क्रॉप चालू करें।
पहले पूर्वावलोकन मुफ़्त हैं, और आपकी तस्वीरें निजी रहती हैं - उनका उपयोग कभी भी AI को प्रशिक्षित करने के लिए नहीं किया जाता है।
स्कैनिंग मूल को भी सुरक्षित रखती है
एक अच्छा स्कैन एक नाजुक प्रिंट के लिए भी सबसे अच्छा बीमा है: एक बार जब मेमोरी एक साफ डिजिटल फ़ाइल बन जाती है, तो कागज न होने पर भी यह सुरक्षित है। मूल प्रतियों को किसी ठंडी और सूखी जगह पर रखें और स्कैन का बैकअप दो स्थानों पर रखें।
संबंधित लेख
प्रिंटेड फ़ोटो से पिक्सेल और रंग तक: फ़ोटो डिजिटलीकरण का विकास और आज Recolor the Past की कार्यप्रणाली
पहले फ़ोटो को डिजिटल बनाने के लिए विशेष कॉपी कैमरे, फ्लैटबेड स्कैनर और कई डेस्कटॉप प्रोग्राम चाहिए होते थे। आज उपलब्ध विकल्पों और Recolor the Past में मुफ़्त स्कैनिंग, परिप्रेक्ष्य सुधार तथा वैकल्पिक AI रंगीकरण की पूरी प्रक्रिया को समझें।
Recolor the Past ऐप: एक मुद्रित फोटो से एक पुनर्स्थापित पारिवारिक एल्बम तक
फ़ोटो को स्कैन करने या आयात करने, उन्हें स्टूडियो में तैयार करने, मुफ़्त पूर्वावलोकन बनाने, पुनर्स्थापना विकल्प चुनने और पूर्ण-रिज़ॉल्यूशन परिणामों को व्यवस्थित रखने के लिए एक संपूर्ण मार्गदर्शिका।
तैयारी करें, फिर पुनर्स्थापित करें: प्रत्येक फोटो विकल्प समझाया गया
जानें कि आप स्टूडियो में स्थानीय रूप से कौन से सुधार करते हैं और कौन सी वैकल्पिक पुनर्स्थापना प्रक्रियाएँ अंतिम परिणाम बनाती हैं।