Recolor the Past Lietotne: no drukāta fotoattēla līdz atjaunotam ģimenes albumam
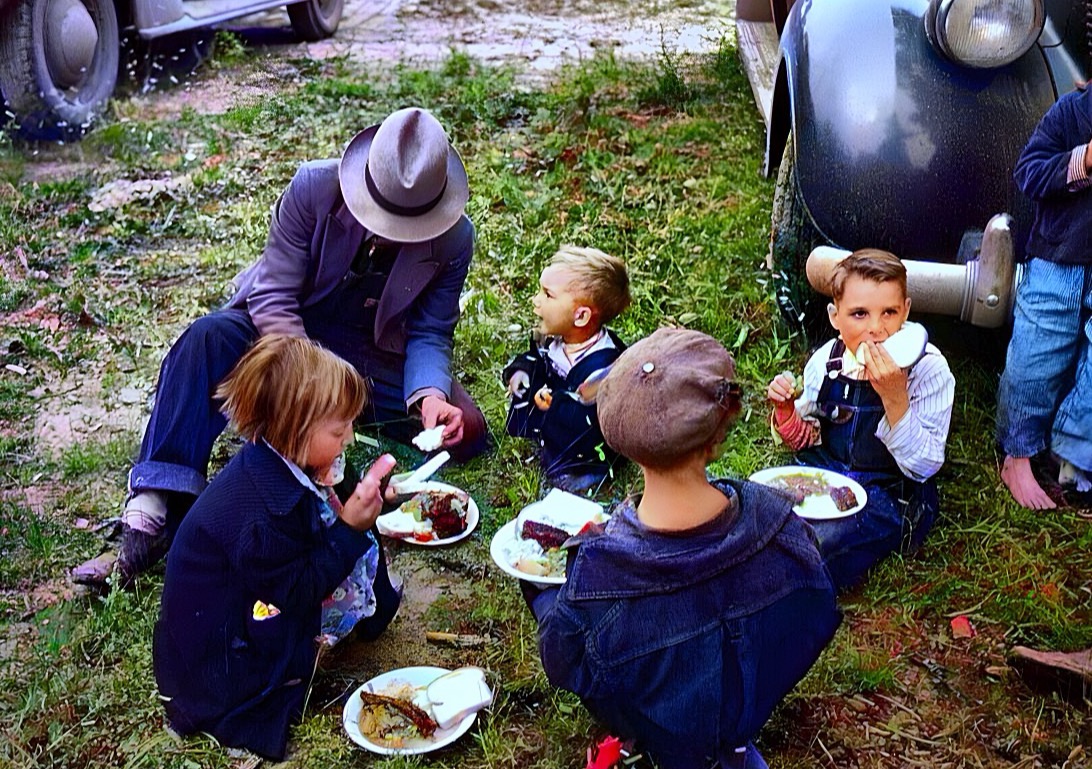
Recolor the Past ir veidota, izmantojot vienkāršu trīs posmu darbplūsmu: skenējiet vai pievienojiet fotoattēlus → Studio → Fotoattēli.
1. Skenējiet vai pievienojiet fotoattēlus
Izmantojiet kameras skeneri drukātām fotogrāfijām vai importējiet vairākus esošus failus no savas galerijas. Kameras skenēšana ietver tiešo robežu noteikšanu, manuālu atkāpšanos no stūriem un tveršanas režīmu bez atspīdumiem. Pievienojot attēlus, piešķiriet tai nosaukumu vai izvēlieties mapi, lai ģimenes pasākums, arhīva lodziņš vai persona būtu sakārtota no paša sākuma.
2. Sagatavojiet visu Studio
Studio satur avota attēlus, kas nav pabeigti. Atveriet jebkuru fotoattēlu, lai to pagrieztu, izlabojiet tā četrus stūrus, apgrieziet to un pielāgojiet ekspozīciju, kontrastu, piesātinājumu un siltumu. Šie manuālie labojumi tiek lietoti pirms AI apstrādes, tie paliek jūsu kontrolē un kļūst par priekšskatījuma avotu.
Kad esat gatavs, atlasiet vienu fotoattēlu vai visu mapi. Melnbaltā skenēšana un vietējā organizēšana ir bezmaksas. Sagatavotos skenētos attēlus varat arī saglabāt Apple Photos vai Android galerijā, kad ir pieejama atļauja.
3. Izveidojiet un salīdziniet priekšskatījumu
Izvēlieties Colorize, izbalējušu krāsu atjaunošanu, skrāpējumu labošanu, izplūšanas samazināšanu, sejas atjaunošanu vai citas attēla labošanas iespējas. Recolor the Past parāda izmaksas pirms pilnas izšķirtspējas eksportēšanas. Priekšskatījumi ir bezmaksas, un tie ļauj vilkt starp sākotnējo un atjaunoto rezultātu, mainīt iestatījumus un mēģināt vēlreiz.
Apstrāde turpinās fonā, lai jūs varētu atstāt darbvietu un atgriezties vēlāk. Aktīvā sesija tiek rādīta mapē Studio, līdz to pabeidzat.
4. Pabeidziet fotoattēlus
Pabeigtie rezultāti tiek pārvietoti uz fotoattēlu, saglabājot to pašu albuma identitāti. Albumus var sakļaut, pārdēvēt vai dzēst no lietotnes, neizdzēšot ierīces galerijā jau saglabātās kopijas. Tikai mākoņa rezultāti tiek sinhronizēti ar ierīci, kad tiek atvērts albums; vecie tikai ierīcē paredzētie faili netiek atkārtoti augšupielādēti automātiski.
Pilnas izšķirtspējas attēlus var skatīt, koplietot atsevišķi vai eksportēt kā partiju ZIP. Katrs fails saglabā konkrētajam fotoattēlam izvēlētos atjaunošanas iestatījumus.
Kredīti un privātums
Pamatkrāsošana maksā vienu kredītu; izvēles atjaunošanas caurlaides var palielināt kopējo summu. Kredīti tiek iekasēti tikai tad, kad ir izveidots pilnas izšķirtspējas rezultāts, nevis priekšskatījumiem. Lietojumprogramma saglabā izturīgas ierīces kopijas neatkarīgi no pagaidu mākoņa kopijas, un jūsu ģimenes fotoattēli netiek izmantoti apmācībai AI.
Saņemiet Recolor the Past
Lejupielādēt Recolor the Past uz Apple App Store vai iegūstiet to pa Google Play. Pieejamība atšķiras atkarībā no reģiona.
Izmēģiniet to uz savas fotogrāfijas
Augšupielādējiet vecu fotogrāfiju un vērojiet, kā dažu sekunžu laikā parādās bezmaksas priekšskatījums.
Vēl no bloga
No papīra fotogrāfijas līdz pikseļiem un krāsām: kā attīstījusies fotoattēlu digitalizācija un kā šodien darbojas Recolor the Past
Agrāk fotoattēlu digitalizācijai vajadzēja īpašu reprokameru, plakanvirsmas skeneri un vairākas datorprogrammas. Uzziniet, kādas iespējas pieejamas šodien un kā Recolor the Past vienā darbplūsmā apvieno bezmaksas skenēšanu, perspektīvas korekciju un izvēles iekrāsošanu ar mākslīgo intelektu.
Katra atjaunošanas iespēja izskaidrota: ko ieslēgt un kad
Iekrāsošana, izbalējušu krāsu uzlabošana, bojājumu labošana, seju uzlabošana, iztaisnošana un skenējuma artefaktu tīrīšana: starta iespēju ceļvedis.
Kā skenēt vecās fotogrāfijas ar telefonu (Google PhotoScan) — un tad tās iekrāsot
Soli pa solim ceļvedis par to, kā ar Google PhotoScan vai plakanvirsmas skeneri iegūt asus skenējumus bez atspīduma, lai iekrāsošana un atjaunošana izdotos vislabāk.